Openers · Port Colborne
Photo-Eye Sensor Alignment or Replacement in Port Colborne
On bright mornings the door will not close, then by lunchtime it behaves itself. The garage faces the low sun, and the light reaches straight across the floor to one of the little black sensors.
Photo-Eye Sensor Alignment or Replacement
In plain words
The sensors are only as good as the thin two-conductor wire that links them to the opener. It runs from the low-voltage terminals on the head unit along the ceiling and down each wall to the floor, stapled as it goes, and it is easily pierced, cut during renovations, chewed, or pulled loose at the terminals. When both sensor lights are dark, or the opener's code says the circuit is open or reversed, the technician tests the run end to end, repairs the damaged section or replaces the whole run, checks polarity at the terminals, and clips the new wire clear of the track.
How the visit goesThere are no sensors at the floor at all, or a previous owner has wired the pair together up beside the motor so the beam never crosses the doorway. A home inspector has just pointed it out.
Port Colborne
How the visit goes
Brackets and height on both sides
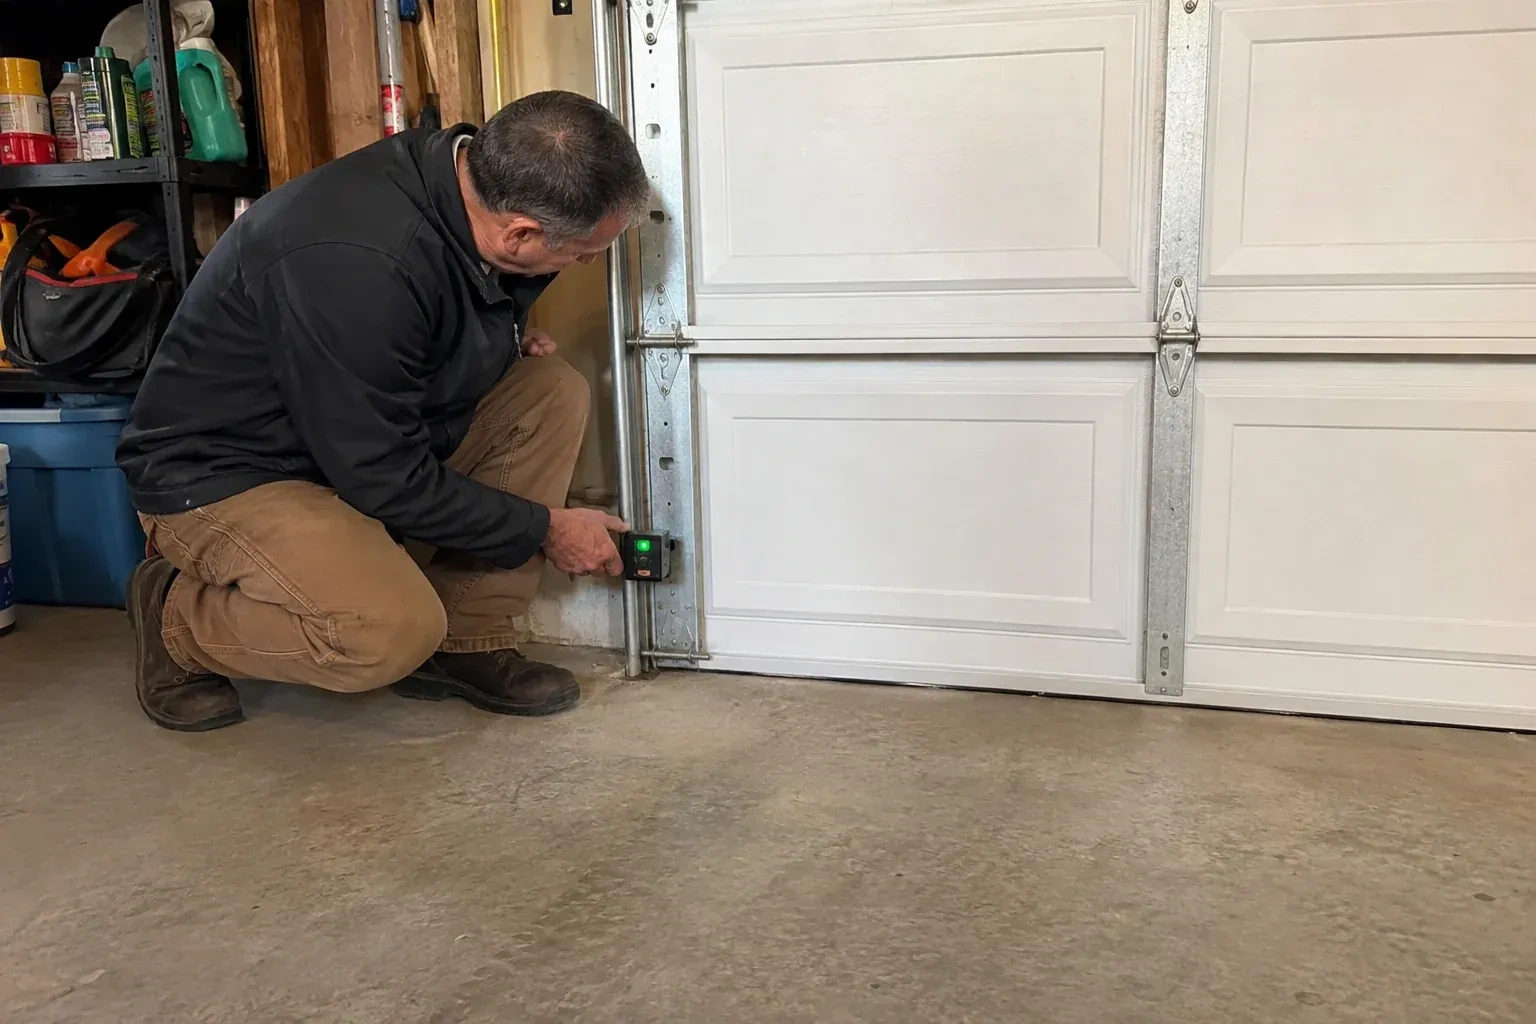
The two sensors have to sit at the same height, level, and facing each other squarely, no higher than about 15 cm (6 in) above the floor so the beam catches a small child or a pet. The technician measures both sides, because a bracket that has slipped a couple of centimetres down a track leg is enough to lose the beam. Each bracket is checked for bends from a bumper or a bin, for loose carriage bolts or wing nuts, and for rust where salt slush has sat against it for winters on end. A bracket screwed to a wall or the floor is checked for anchors that have worked loose.
Dealing with the sun
A receiver that looks into the low sun is fixed by geometry. The simplest cure is to swap the two sensors side to side so the receiver looks away from the doorway light and the sending eye, which is not affected, takes the sunny position. Where the layout rules that out, a small hood or shade is fitted over the receiving lens, deep enough to shield it without narrowing the beam path. The wiring is extended or re-routed as needed and both lights are checked at the time of day the fault used to appear, or with a strong light aimed at the lens to stand in for the sun.
Wiring that stays put
The wire between the head unit and the sensors has been secured along the ceiling and walls, clipped clear of the track and, where it was exposed, run inside a protective channel. Two things keep it that way. First, when anything is fastened to those walls or that ceiling, from shelving to a bike hook to drywall, look for the thin wire before driving a screw or a staple. Second, if mice have been in the garage, a chewed wire is a common sign, so a dark sensor light after a sighting is worth a look at the run. Either way, the sensor lights will tell you the moment the circuit is open.
Photo-Eye Sensor Alignment or Replacement
In the van
- Concrete anchors
- Multimeter
- Two-conductor low-voltage wire
- Track-mount sensor brackets
- Protective wire channel
What affects the quote
Same fees day, night or weekend
1Undoing an earlier shortcut
Sensors taped together beside the motor, mismatched pairs from different generations or a bypassed circuit are put right first, which means new wire down each side and fresh brackets at the doorway.
2Winter conditions on the day
Snow and ice packed against the brackets, a frozen bottom seal or a frozen floor where anchors must go all add a little clearing and care before the sensor work itself can start.
3Bracket condition
A bracket that can be straightened costs little time. One that is cracked, rusted through or missing is replaced, and a change from track clips to wall or floor brackets adds anchors and mounting work.
Photo-Eye Sensor Alignment or Replacement: questions
The opener light blinks when I press close. Is that the sensors?
Very often, yes. A blinking bulb after a close command is the opener reporting that its sensor circuit is unhappy, and the count of blinks is the message: one common family uses ten flashes for the sensors, while a short two-flash pattern usually means the wall control's lock button is on. Newer units add arrow codes that separate a blocked beam from a cut or reversed wire. Counting the flashes and telling the technician the make helps identify the cause before the visit.
Could the wiring be the problem rather than the sensors?
Frequently. The sensors are fed by a thin two-conductor wire from the head unit that crosses the ceiling and drops down both sides of the door, and it is pierced by staples, cut by shelving screws, chewed by mice or pulled from its terminals more often than a sensor fails. Both sensor lights dark, or an opener code for an open or reversed circuit, points to the wire. The technician tests the run with a meter and repairs or replaces the damaged section.
Why does my door start to close and then go straight back up?
Often the opener believes something is in the doorway, which happens when the receiving sensor stops seeing the beam, whether from an object in the path, a bracket knocked out of line, a dirty or frosted lens, sun in the receiving eye, or a damaged wire. Binding, a force setting or the door arm can cause the same symptom, so the sensor lights and the opener's flashing pattern are read first, and the technician fixes the cause they point to rather than guessing.
Openers & Access
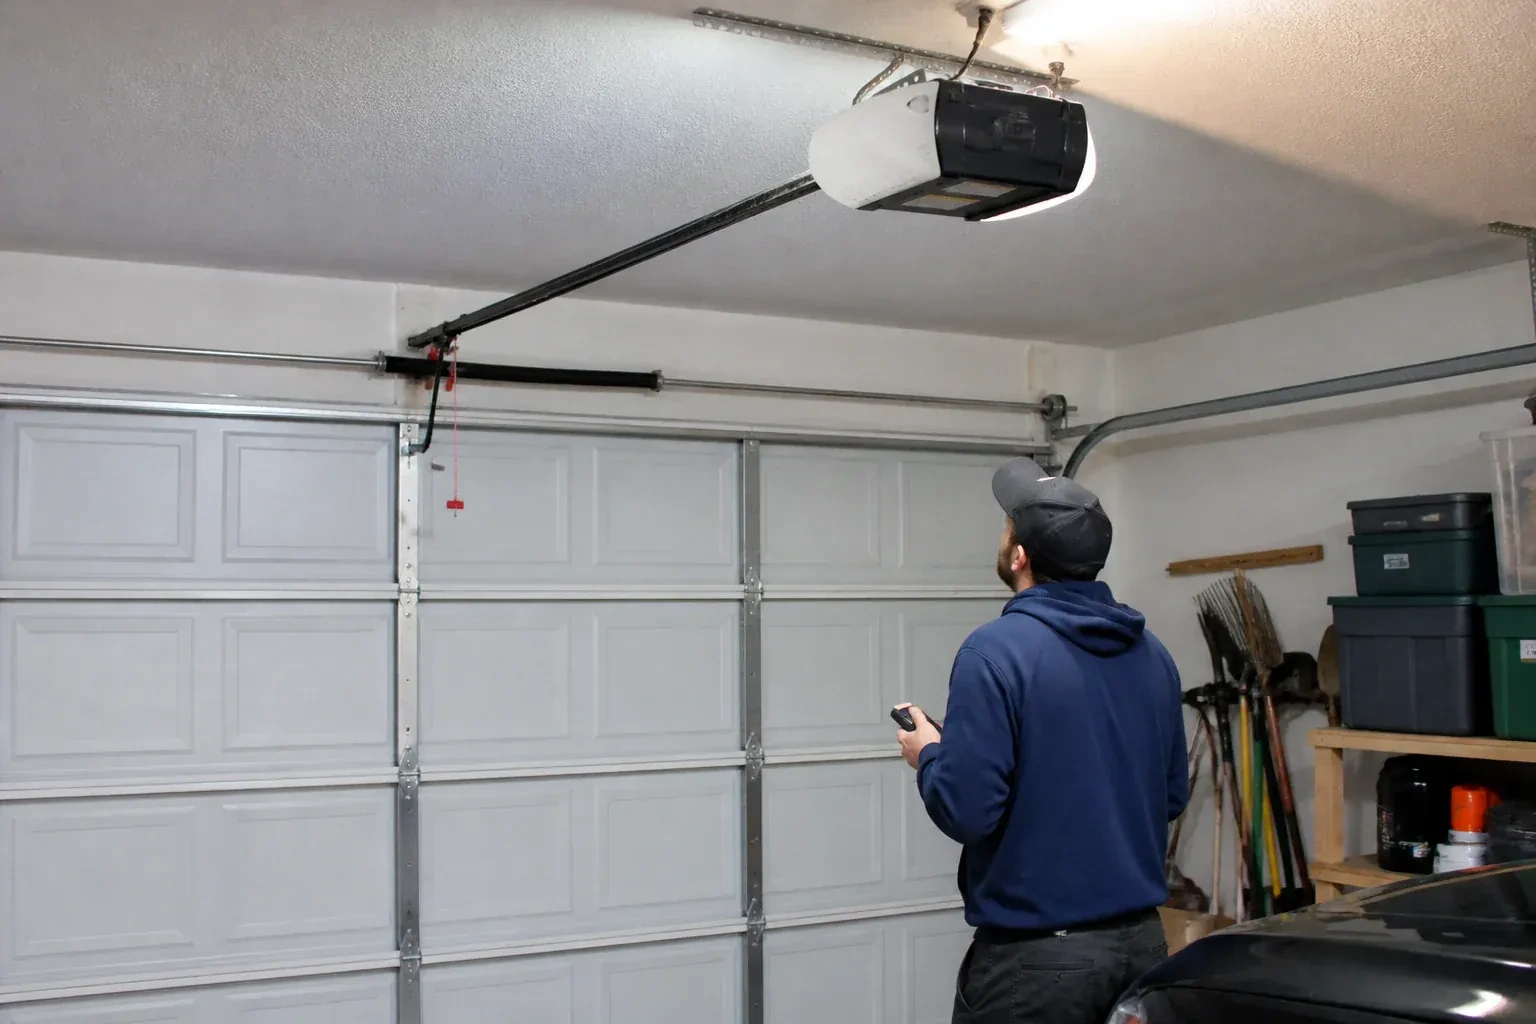
- Chain-Drive Opener RepairThe door closes, touches the floor, then climbs straight back up as if it hit something.
- Belt-Drive Opener RepairPress the remote and the motor runs its full cycle, lights on, the usual whir, but the door does…
- Garage Door Opener ReplacementThe remotes only work from the end of the driveway now, and one of them disappeared with a set of…
Photo-Eye Sensor Alignment or Replacement near you
If your door in Port Colborne is doing something new, there is a service here for it. Grinding usually points to rollers or hinges. A door that will not lift points to a spring or cable. A door that reverses on its own points to sensors or force settings. We diagnose first, then repair.