Repairs · Port Colborne
Garage Door Perimeter Weatherstrip
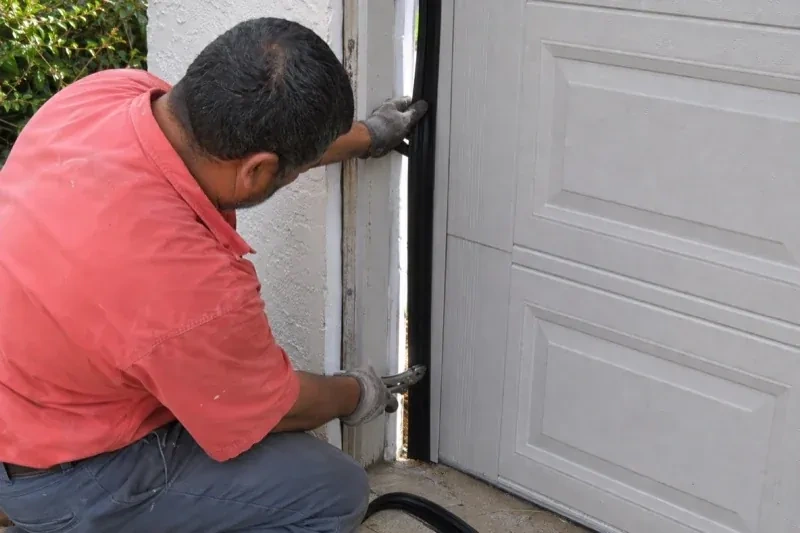
A length of weatherstrip along the right jamb has pulled away, nails and all, and it slaps against the trim every time the wind picks up. The wood behind it is dark and soft where it meets the floor.
Garage Door Perimeter Weatherstrip
In plain words
Winter is what wears a perimeter seal out here. Sun and cold cycles harden the vinyl until it cracks, freezing rain glues the fin to the door so the opener tears it, and salty slush sits against the bottom of the jambs and rots the wood the strip is nailed to. One visit deals with all of that: soft wood at the base of the jamb is cut out and replaced, fresh seal is fitted in continuous lengths with the corners overlapped, and the fin is wiped with silicone so ice does not bond to it. The garage stays drier and calmer through the next freeze-thaw season.
How the visit goesThe new door went in last year and looks perfect, but the old wooden stop and its tired seal were left in place. Along the top there is a gap you could slide a finger into, and the cold pours through it.
Port Colborne
How the visit goes
How the door sits in the opening
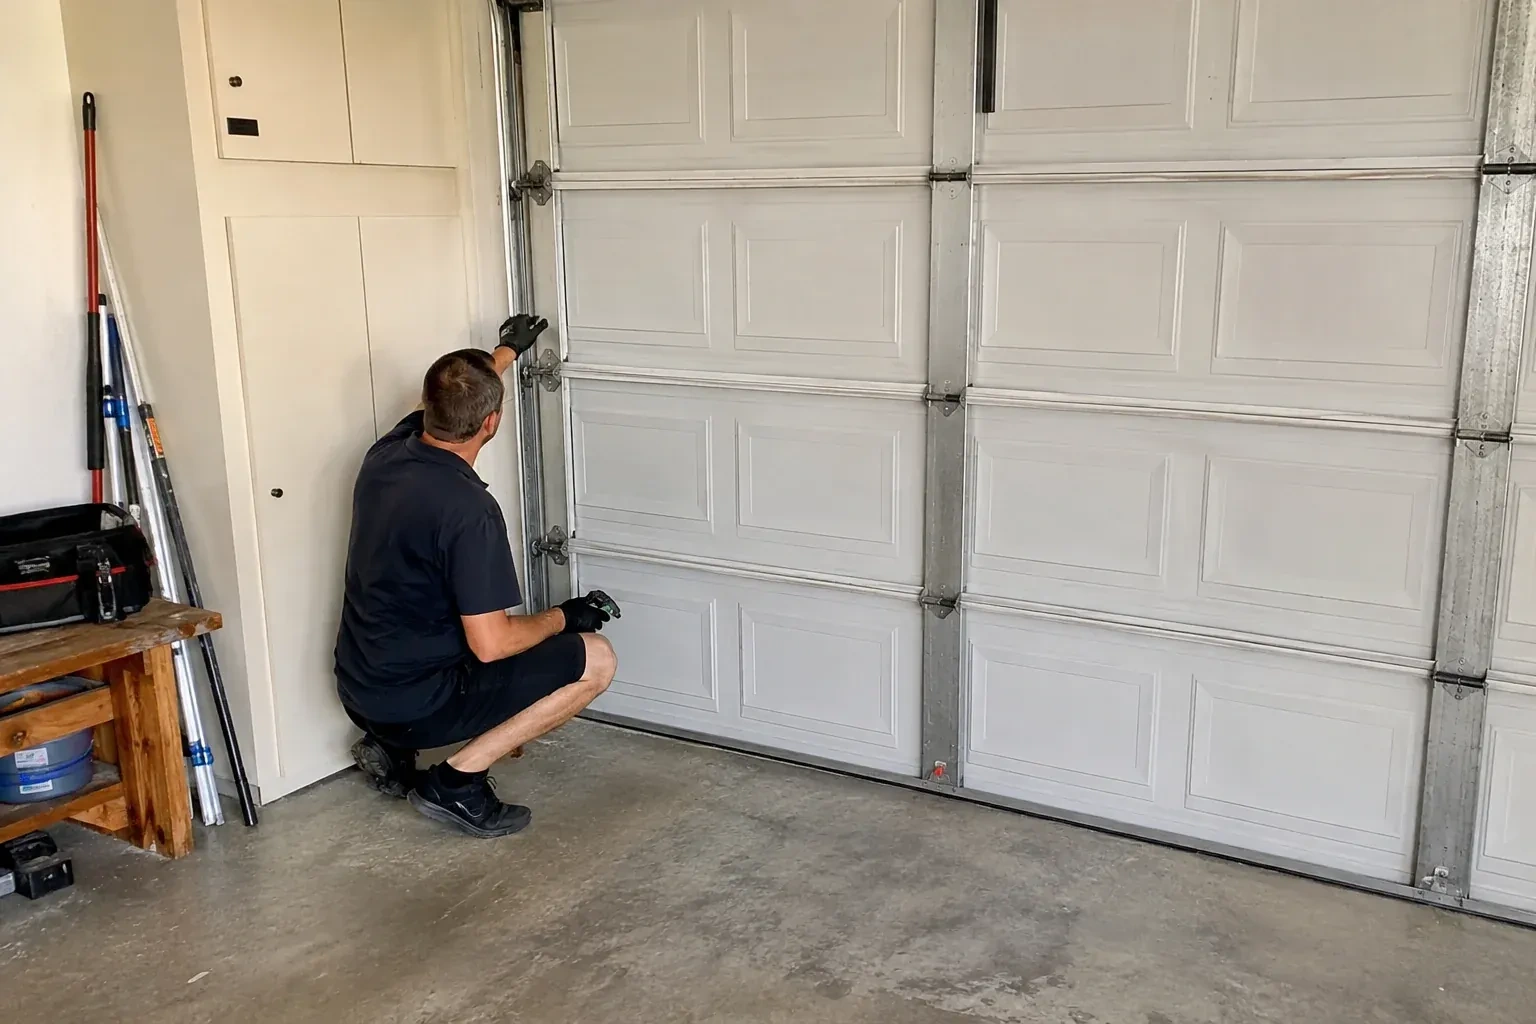
A perimeter seal can only follow a door that sits where the frame expects it, so the door is checked before any strip is ordered or cut. Each edge is checked for plumb, the gap to both jambs is compared, and the top section is watched as it meets the header to see whether it bows away or leans in. Rollers, hinges and the spacing of the vertical tracks are looked at because any of them can shift the door face toward one jamb and away from the other. Small corrections, such as re-setting a track bracket, are noted so the new seal is fitted to a door that closes square and stays that way.
Fitting the sides and closing the corners
Each side length is cut to run from tight under the header piece down to the floor, with a little spare to trim in place. It is set with the same light contact as the header and fastened top to bottom. At the top corner, the side fin tucks under the header fin so they overlap, leaving no square hole for drafts or mice. At the floor the side is trimmed to meet the bottom seal on the door, so the seal is continuous around three sides and hands off to the fourth. Both sides are done the same way, checking the door edge gap as they go.
A look round each season
The simplest care is a glance four times a year. Close the door, switch off the lights and look along both sides and the header for daylight. Then step outside and check that no length has lifted, that the corners are still tucked together and that the fin is still soft when you press it with a thumb. Cracks, a hard grey surface or a piece that has shrunk back from the door are the early signs. Manufacturers suggest wiping the seal down with a damp cloth a few times a year, and that also lets you feel any change in it.
Garage Door Perimeter Weatherstrip
In the van
- Jamb repair lumber or PVC trim
- Exterior screws and weatherproof staples
- Utility knife and mitre saw
- Vinyl stop moulding with integral seal
- Flexible vinyl fin seal
What affects the quote
Same fees day, night or weekend
1Weather on the day
Cold weather means keeping vinyl warm between the van and the opening and fitting each length with extra care, so a winter visit can run a little longer than one in mild weather.
2Adding a brush or foam seal to the sides as well as the stop
Some households want only the top and side stop replaced, while others add a brush or foam seal along the same run for a tighter fit against wind-driven snow. That extra material and the time to fit it are agreed before the old stop comes off.
3Condition of the jambs
Soft or rotten wood at the base of a jamb is cut out and spliced with new lumber or PVC trim before the seal goes on, and that repair is quoted as its own item.
Garage Door Perimeter Weatherstrip: questions
Does it matter if my garage is detached and unheated?
The seal still earns its place. It keeps driven snow, rain, leaves and animals out of the garage and off whatever is stored there, and it stops the door edges rattling in the wind. For an attached or heated garage the comfort benefit to the house is added on top. The technician may suggest a simpler fin replacement for a detached shell and a one-piece stop where the garage is lived beside.
How long does the visit take?
A straightforward fin replacement on a single door is often a matter of an hour or two once the technician is set up; a double door with a one-piece stop takes longer, and any jamb repair adds to it. Most of the time goes into checking the door, preparing the surface and setting the contact carefully, since those are what make the seal last. You are given a sense of the timing when the work is confirmed.
How can I tell the side and top seal needs replacing?
Close the door, turn off the garage lights and look along the edges for daylight. Then press the fin with a thumb: it should be soft and spring back. Hardness, cracks, pieces missing, a strip hanging loose, snow or leaves inside along the edge, or a fin that has folded under and torn are all signs. A rubbing squeal as the door moves is another.
Repair & Maintenance
- Garage Door Tune-UpOn windy nights the door rattles in its frame, there is a line of daylight along one side, and the…
- Off-Track Garage Door ResetYou tapped the door with the bumper while backing in, barely a nudge, and now the bottom corner has…
- Garage Door Panel ReplacementYears of slap shots have peppered the lower two sections with dents.
Garage Door Perimeter Weatherstrip near you
If your door in Port Colborne is doing something new, there is a service here for it. Grinding usually points to rollers or hinges. A door that will not lift points to a spring or cable. A door that reverses on its own points to sensors or force settings. We diagnose first, then repair.